Two weeks is a realistic target for one school that starts with the core — students, attendance and fees — and adds other modules once the office is comfortable. This guide sets out a plan that works for most schools. Your timeline will depend on how ready your data is and how many people need training, so treat the days as a guide rather than a deadline.
Before you start: agree the scope
Pick the modules you will launch with and write them down. A good first scope for most schools is:
- Students — the student list, sections, admission numbers and parent mobile numbers.
- Attendance — daily student attendance, and staff attendance if you want it from day one.
- Fees — fee structures, collection at the counter, receipts and due reports.
- The parent app — so families can see attendance, fees and notices, and pay online if you switch that on.
Everything else — exams and report cards, timetable, homework, quizzes, transport, accounting, payroll — can follow in later phases. Launching with a smaller scope means your team learns the basics properly before the next thing arrives.
Name one owner at the school (often the administrator or office head) who can make decisions, and one person in accounts who knows the fee structure inside out.
Days 1–3: set up the school
In the first few days the school is configured in CampusConnect:
- School profile — name, logo, address and the academic session you’re starting with (Settings → General setting, Session setting).
- Classes and sections — create your classes and sections, or rename them if you use streams and years.
- Subjects — add subjects and subject groups per class (you need these later for timetables and exams).
- Staff — add staff with the right roles, such as teacher, accountant, librarian or receptionist, so each person sees only what they need.
- Fee structure — fee heads, class-wise amounts, installments, due dates and fines (Fees → Fee structure, Fee setting).
Tip: settle the fee structure with your accountant before it goes into the system. It is far easier to get it right once than to correct receipts later.
Days 3–7: bring your data across
Use the import tools to move your existing records from Excel:
- Students — Students → Bulk admit students. Check the list afterwards with filters by class and section.
- Fee master — if each student’s fee heads were set in your old system, use Fees → Import fee master.
- Fees already paid this session — Fees → Import fee records, so collection reports start complete.
- Pending dues from earlier sessions — Fees → Import due records. These stay separate from this session’s fees.
Imported records are listed separately (for example “Imported fee records”), which makes checking easy. Pick ten students at random and compare their balance in CampusConnect with your old records before you move on. Our onboarding read-through of moving fee records from Excel covers this step in detail.
Days 7–10: train the people who’ll use it
Short, role-wise sessions work far better than one long training for everyone:
- Office staff — finding students, Student 360, admissions, certificates and notices.
- Accounts — collecting fees, receipts, discounts, due reports and the daybook. If a receipt is wrong, show how to revert it from the collection report instead of re-entering it.
- Teachers — marking attendance on the web or the CampusConnect Pro app. It takes a few minutes to learn: mark everyone present, change the exceptions, save.
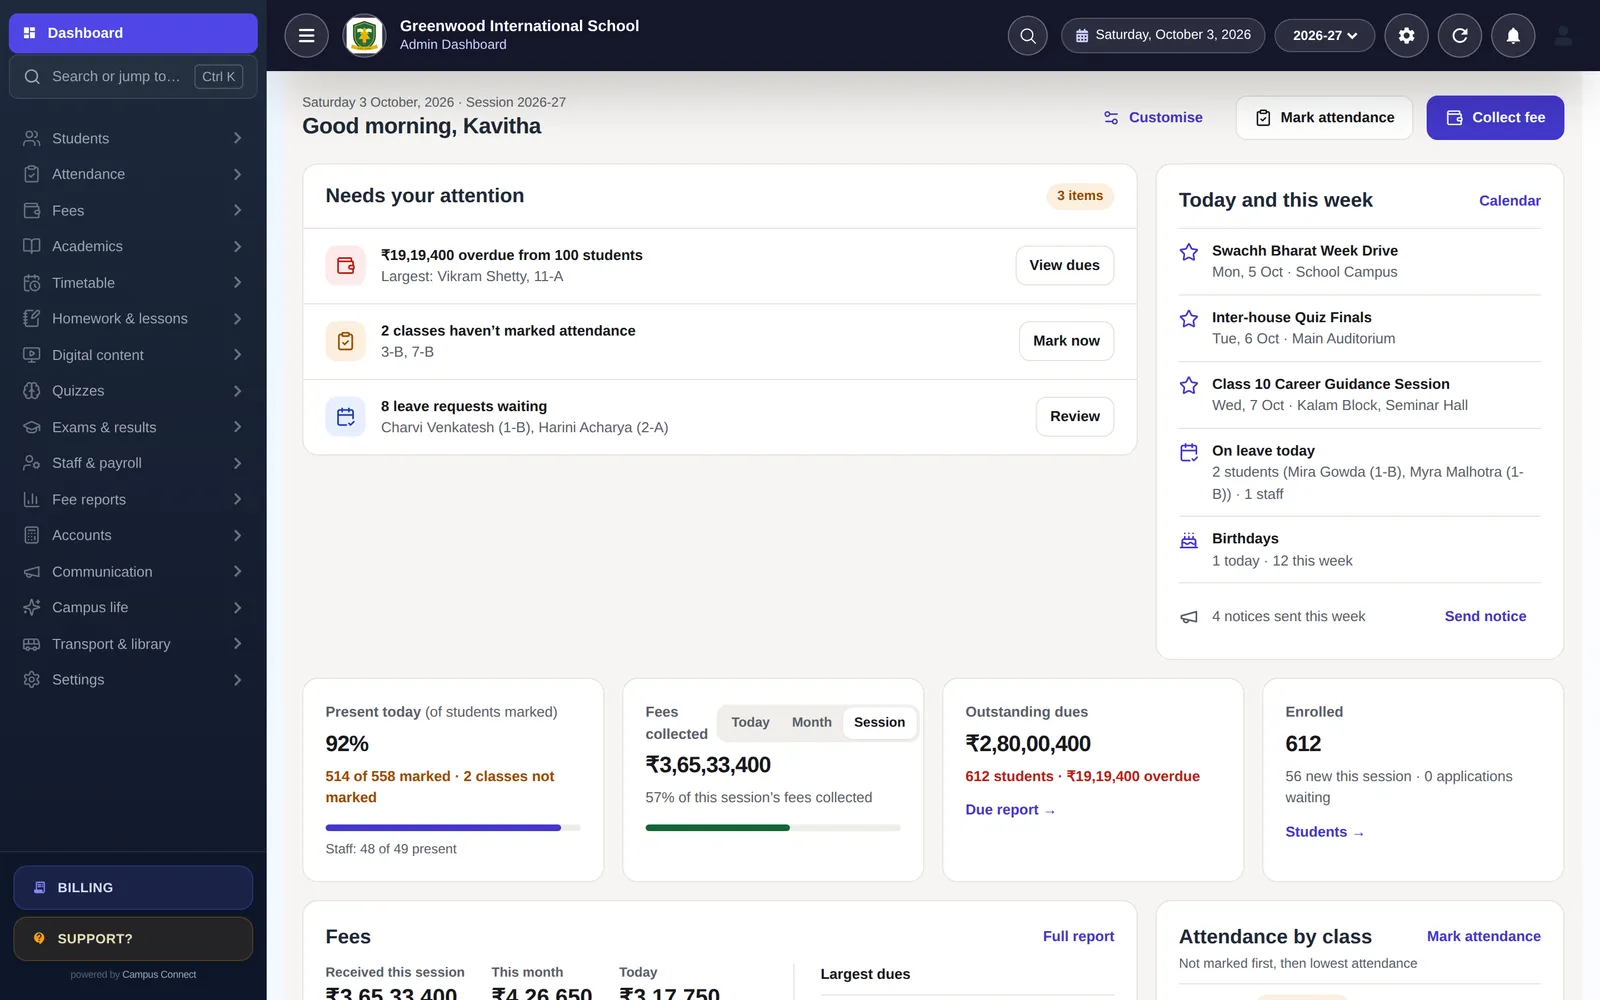
- Principal — the dashboard, the “needs your attention” list and the main reports.
Ask each group to do a real task during training — mark today’s attendance, collect one real fee — so the first day of real use isn’t the first time they try.
Days 10–14: launch to parents
When attendance and fees are running smoothly inside the school, invite families:
- Send a short message with the app links (Google Play and the App Store) and your school code.
- Explain how to sign in — with the details you give them, or their registered mobile number and a one-time code.
- Tell parents what they will see: attendance, fees and receipts, notices and the timetable to start with.
- If you’re ready, switch on online fee payments so parents can pay from the app.
Keep the first notice simple and friendly. Parents who see their child’s attendance on the first day tend to keep using the app.
After go-live: the first fee cycle
The first fee cycle is the real test. In the weeks after launch:
- Check the due report each week and send reminders by SMS, email or push notification.
- Reconcile the daybook with your bank deposits at the end of each day for the first month.
- Look at the audit log if anything looks odd — it records important actions with who did them and when.
- Collect feedback from the office and teachers, and decide which module to add next.
Common pitfalls to avoid
- Changing the fee structure after fees are collected. Finalise it first.
- Training everyone at once. Role-wise sessions are shorter and stick better.
- Launching to parents before the data is right. A wrong balance on day one costs trust; check before you invite families.
- Running two systems in parallel for too long. Keep the old one read-only for reference, and use CampusConnect for everything new.
If you’d like our team to run this plan with you, book a demo and we’ll agree a go-live date together.