Online payment is one of the features parents value most: they see what is due in the CampusConnect app, pay in a few taps and get a receipt straight away. For the school, the payment is recorded against the right student and fee heads automatically. This guide walks through setting it up.
What you need before you start
- An Easebuzz merchant account in the school’s (or trust’s) name. CampusConnect uses the Easebuzz payment gateway. The gateway’s onboarding — KYC, bank account verification and approval — is between your institution and Easebuzz.
- Your Easebuzz key and salt. These are the credentials Easebuzz gives you for your account.
- A finalised fee structure in CampusConnect, so parents see the correct amounts.
- Admin access to the CampusConnect web app.
Gateway charges depend on your agreement with the gateway and on the payment method parents use. Decide in advance whether the school absorbs these charges or passes them on, and tell parents.
Step 1: enter your gateway credentials
- Log in to the web app and open Settings → Payment setting.
- Enter your Easebuzz Key and Easebuzz Salt.
- If your gateway account uses sub-merchants or split settlements (for example, separate accounts for different fee types), switch on the relevant option and enter the SubMerchant Id or Split Id that Easebuzz gave you. If you’re not sure, leave these off and ask Easebuzz.
- Save.
The credentials are stored encrypted. Payment setting is part of the school admin’s settings, so keep admin logins to the people who need them.
Step 2: make a test payment
Before telling parents, run a real end-to-end test with a small amount:
- Pick a test student (or a staff member’s child who is happy to help).
- In the CampusConnect app, sign in as that student, open Fee and pay one small fee head.
- Check that the receipt appears in the app.
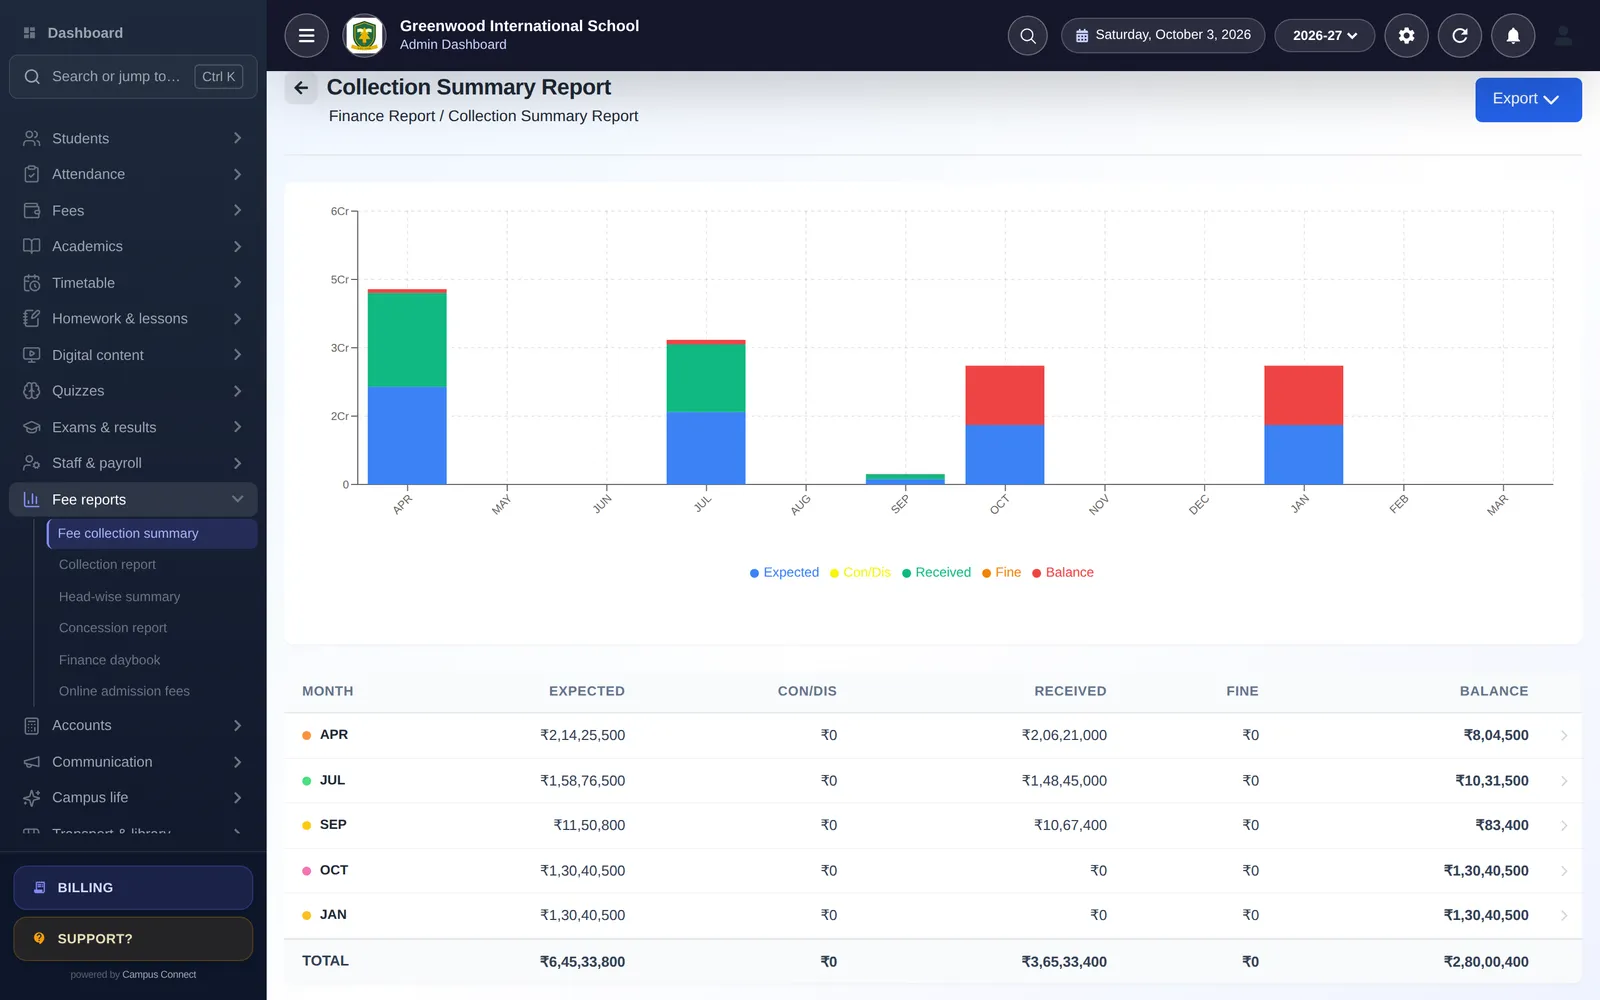
- In the web app, check the Collection report and the student’s fee details — the payment should be there with the right heads.
- Confirm with your bank or the gateway dashboard that the money settles as expected.
CampusConnect confirms the payment status with the gateway before marking a fee as paid, rather than trusting what the browser reports.
Step 3: if a payment doesn’t show up
Occasionally a parent’s bank debits the money but the payment status doesn’t come back immediately — for example, if the phone loses connection. Use Settings → Payment update to look up the transaction by its ID and update its status. Ask the parent for the transaction ID shown in their payment app or bank message.
Make it a habit for the accounts team to check pending or failed payments once a day in the first few weeks.
Step 4: tell parents
Send a short notice and push notification:
- Fees can now be paid in the CampusConnect app under Fee.
- Which payment methods are available and whether any convenience charge applies.
- That the receipt appears in the app immediately after payment.
- Who to contact if a payment is debited but not reflected.
Pair the announcement with the next due date — parents are most likely to try it when a fee is due.
Step 5: reconcile
For the first month, reconcile daily:
- Compare the Finance daybook and the Collection report for online payments with the gateway’s settlement report.
- Match settlements to your bank statement.
- Investigate any difference the same day while it’s fresh.
After the first month, most schools move to weekly reconciliation.
Good practice
- Keep counter collection available — some families will always prefer cash or cheque.
- Use due reminders (SMS, email and push) a few days before each due date.
- Don’t share the gateway key and salt by email or chat; enter them directly in Payment setting.
- Review who has admin access each term.
Want a hand with your first fee cycle online? Book a demo and our team will help you plan it.