Most schools switching to CampusConnect keep their fee history in Excel or in an older desktop program that can export to Excel. This guide explains which records to bring across, in what order, and how to check them, so parents see the right balance and your reports are complete from the first day.
Understand the three kinds of fee data
CampusConnect has a separate import for each kind of fee record. Keeping them apart is what makes checking easy.
- Fee master — what each student is supposed to pay: fee heads and amounts. Use this when students’ fees were set individually in your old system rather than purely by class.
- Fee records — payments already received in the current session: receipt number, date, amount and heads. Importing these means collection reports and the student’s ledger start complete.
- Due records — amounts still owed from earlier sessions. These are kept separate from this session’s fees so you can follow them up without mixing years.
You’ll find all three under Fees → Import in the web app, with a matching “Imported…” list for each so you can review what came in.
Step 1: get the structure right first
Before importing any money, set up the basics in CampusConnect:
- Classes and sections, so every student has a place.
- Students — import them with Students → Bulk admit students. Admission numbers are the key that links fee rows to students, so make sure they match your spreadsheet exactly.
- Fee heads and the class fee structure (Fees → Fee structure), including installments and due dates.
If admission numbers in your fee sheet don’t match the student list, fix them in the spreadsheet first. A consistent admission number is the single most important thing in a fee migration.
Step 2: clean the spreadsheet
You don’t need a perfect file, but a few minutes of cleaning saves hours later:
- One row per student per fee head (or per receipt, for fee records).
- Amounts as plain numbers — no “₹”, commas or text like “paid”.
- Dates in one consistent format.
- No merged cells, subtotal rows or colour-coding that carries meaning. If a colour means “concession”, add a column that says so.
- Remove students who have left, or mark them clearly so you can decide what to do with their dues.
Copy your columns into the layout the import screen expects (our onboarding team shares a sample file), rather than re-arranging your original file. Keep the original as your reference.
Step 3: import in the right order
- Fee master (if you need it).
- Fee records for the current session.
- Due records from previous sessions.
Import a small batch first — one class is ideal. Check it (step 4), then import the rest. If something is wrong in the first batch, you only have one class to correct.
Step 4: check what came in
For the test class, compare CampusConnect with your spreadsheet:
- Totals — the sum of imported fee records should equal your spreadsheet total for that class.
- Ten random students — open each student’s fee details and compare paid, pending and dues with your old records.
- Edge cases — a student with a concession, a student who joined mid-year, a student with dues from two sessions back.
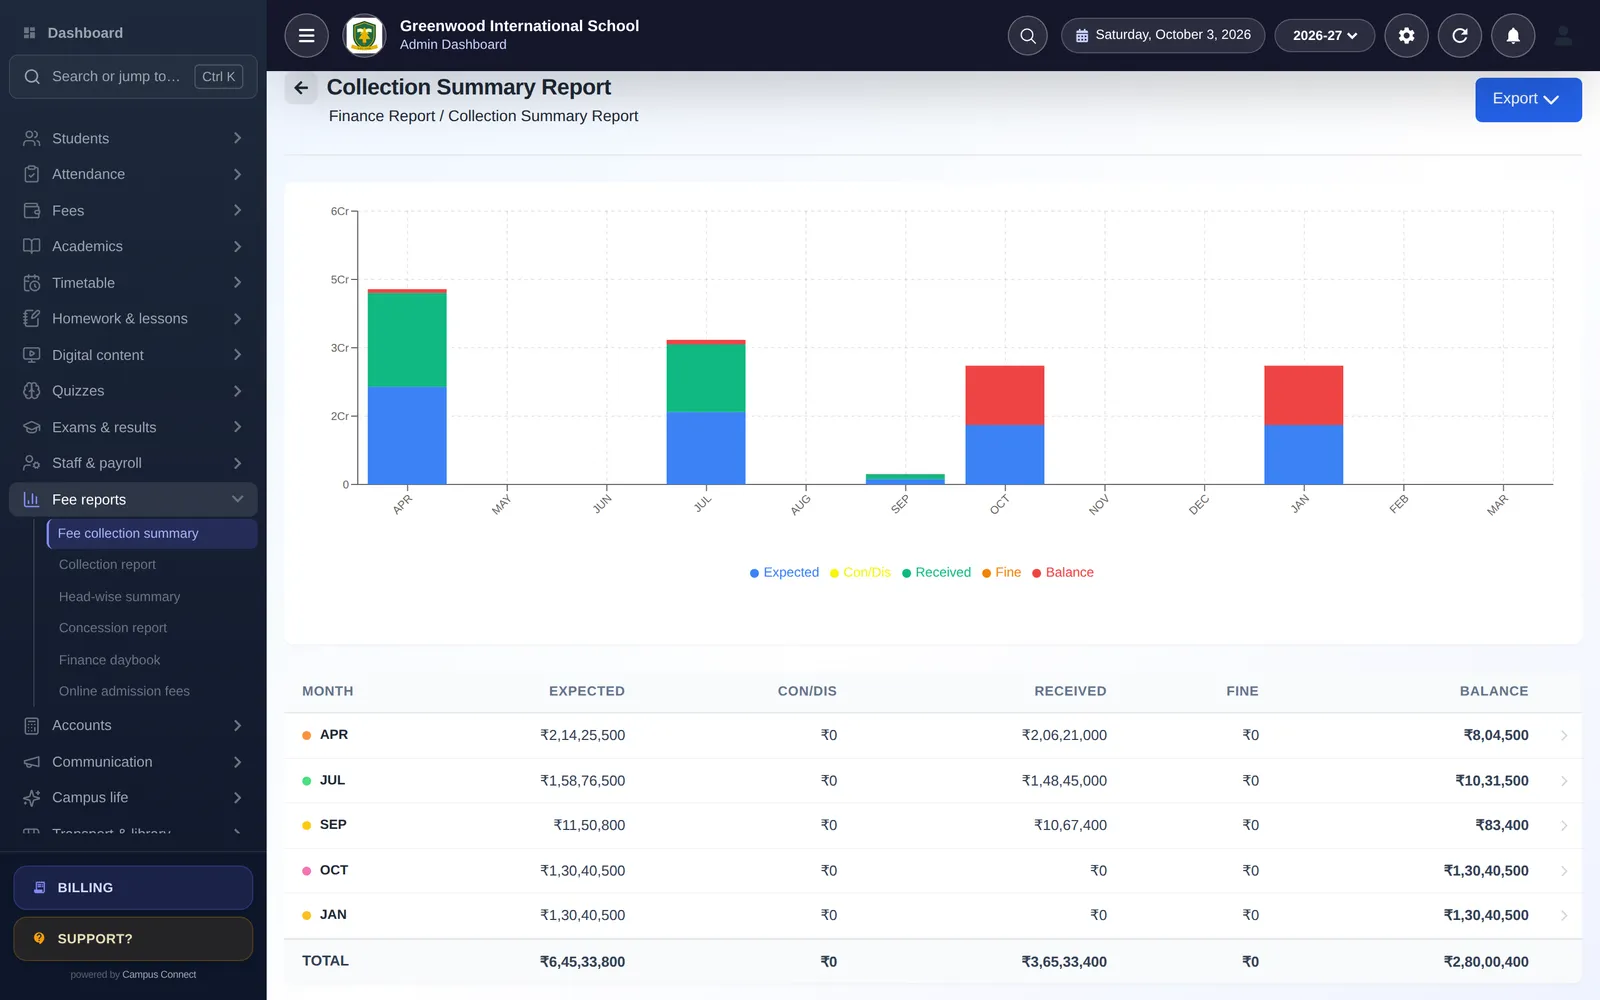
When the test class matches, import the rest and repeat the totals check for the whole school. Then look at the Due report and the Fee collection summary: they should tell the same story as your old books.
Step 5: decide on a cut-over date
Pick a date after which every new receipt is issued in CampusConnect only. Until that date, keep a short list of any receipts issued in the old system and add them before you switch. After it, keep the old system read-only for reference.
Tell the accounts team and the front office the cut-over date in writing. Two systems issuing receipts at the same time is the most common cause of mismatches.
If something is wrong after go-live
- A receipt was issued by mistake — revert it from the collection report. The reversal is recorded, so your audit trail stays correct.
- A student’s structure is wrong — correct the fee structure or apply a discount through the discount workflow, rather than editing amounts by hand.
- You’re not sure who changed something — check the audit log, which records important actions with who did them and when.
Checklist
- Admission numbers match between the student list and fee sheets.
- Fee structure finalised with the accountant.
- Columns mapped to the import layout; amounts are plain numbers.
- One class imported and checked first.
- Totals match for the whole school.
- Cut-over date agreed and communicated.
Our onboarding team does this with every new school. If you’d rather we handle the mapping, book a demo and we’ll plan it with you.